
Electric chain hoists are essential lifting devices in industrial environments, manufacturing facilities, warehouses, and construction sites. When these critical tools fail to operate or demonstrate weak performance, it can disrupt workflow, impact productivity, and potentially create safety hazards. This comprehensive guide examines the common causes behind electric chain hoist failures—specifically when the hoist does not move or shows inadequate power—and provides systematic troubleshooting steps to diagnose and resolve these issues.
Understanding the Electric Chain Hoist System
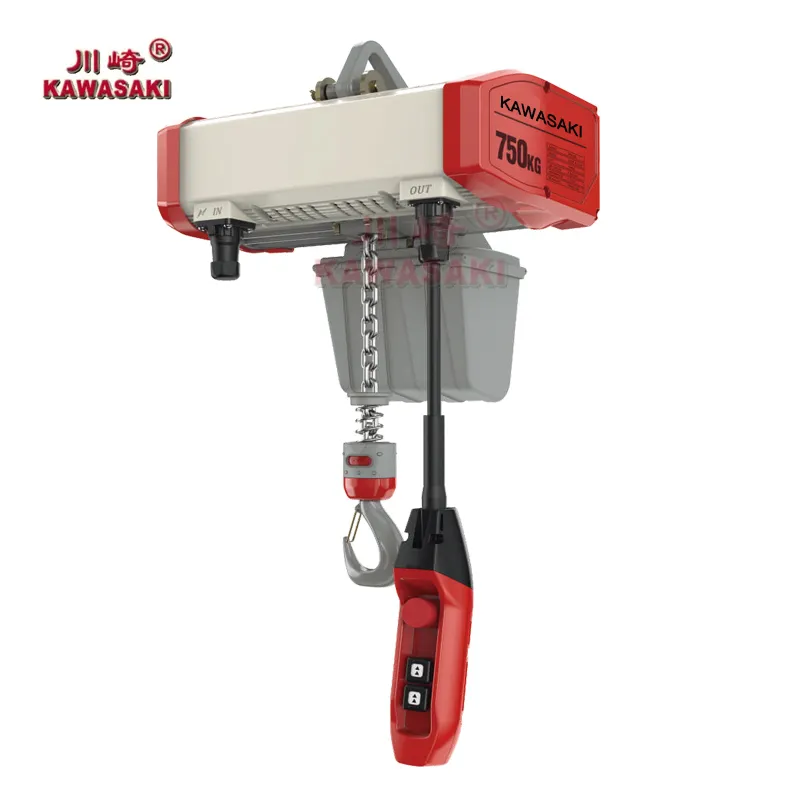
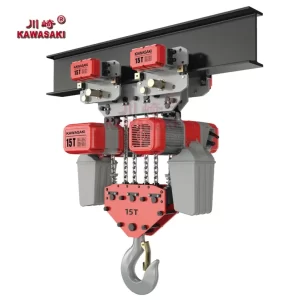
Before delving into troubleshooting, it’s essential to understand the basic components of an electric chain hoist system. The primary elements include the electric motor, gear reduction system, brake assembly, lifting chain, hook, and control mechanism (pendant control or wireless remote). The electrical system consists of the power supply, contactors, limit switches, and control circuitry. A failure in any of these components can result in the hoist not moving or performing weakly.
The hoist’s operation follows a straightforward sequence: When the operator presses the control button, the electrical circuit energizes the contactor, which supplies power to the motor. The motor rotates, and through the gear system, reduces speed while increasing torque to lift the load. The brake releases when power is applied and engages when power is cut off to hold the load. Understanding this sequence helps in diagnosing where the failure occurs.
Initial Safety Precautions
1. Core Principles of Safety Precautions
When performing troubleshooting and maintenance on electric chain hoists, the following core principles must be observed:
- Proactive Hazard Identification:Assess all potential risks before beginning work
- Zero-Energy State Verification:Ensure all energy sources are isolated and controlled
- Hierarchy of Controls:Apply elimination, substitution, engineering controls, administrative controls, and PPE in that order
- Competency Verification:Confirm all personnel involved possess appropriate training and qualifications
- Documentation and Communication:Maintain clear records and communicate hazards to all affected parties
MANDATORY PRE-WORK SAFETY CHECKS:
- Ensure the hoist is completely disconnected from ALL power sources
- Verify that the load is safely supported or lowered to the ground
- Use appropriate personal protective equipment (PPE)
- Follow lockout/tagout (LOTO) procedures as required by safety regulations
- If unsure about any procedure, consult a qualified technician
2. Detailed Safety Procedures
2.1 Complete Power Source Disconnection
Merely turning off the power switch is insufficient. Complete electrical isolation requires:
Step-by-Step Power Isolation Procedure:
Step 1: Operate the hoist’s main disconnect switch to the “OFF” position.
Step 2: Identify and open the circuit breaker supplying power to the hoist at the distribution panel.
Step 3: If the hoist is connected to a plug and receptacle, physically unplug the connector.
Step 4: Use a properly rated voltage tester to verify zero energy state at the hoist’s main terminals.
Step 5: Test the voltage tester on a known live source to confirm its proper functioning before and after testing the hoist.
Step 6: For three-phase systems, check between all phase conductors and between each phase and ground.
| Power System Type | Verification Method | Acceptable Reading |
| Single-Phase (110-120V) | Multimeter measurement between hot and neutral | 0V ± 5V |
| Single-Phase (220-240V) | Multimeter measurement between both hot legs | 0V ± 5V |
| Three-Phase (380-480V) | Multimeter measurement between all phase combinations | 0V ± 5V |
2.2 Load Securing and Grounding
A suspended load represents significant potential energy. Proper securing procedures include:
- Controlled Lowering:Lower the load to the ground or onto adequate support structures before beginning work
- Secondary Support:Use appropriate stands, blocks, or cradles to support the load independently of the hoist
- Stability Verification:Ensure the load is stable and won’t shift during maintenance activities
- Clearance Maintenance:Maintain safe clearance around the work area to prevent accidental contact
- Warning Signage:Place appropriate warning signs around the work area
2.3 Personal Protective Equipment (PPE) Requirements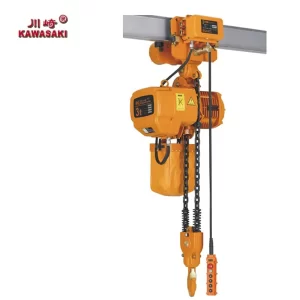
Minimum PPE requirements for electric chain hoist maintenance include:
| PPE Item | Specification | Purpose |
| Safety Glasses | ANSI Z87.1 compliant with side shields | Eye protection from debris, chemicals |
| Work Gloves | Cut-resistant, appropriate for electrical work | Hand protection from sharp edges, minor electrical contact |
| Steel-Toe Boots | ASTM F2413 compliant | Foot protection from falling objects |
| Hearing Protection | NRR rating appropriate for environment | Hearing conservation in high-noise areas |
| Hard Hat | ANSI Z89.1 Type I or II | Head protection from overhead hazards |
| Arc Flash Protection | As determined by arc flash risk assessment | Protection from electrical arc flash incidents |
2.4 Lockout/Tagout (LOTO) Procedures
Proper LOTO procedures are legally mandated in most jurisdictions and include:
Six-Step LOTO Procedure:
Preparation: Identify all energy sources and appropriate isolation methods.
Notification: Inform all affected employees about the shutdown and LOTO application.
Shutdown: Turn off equipment using normal stopping procedures.
Isolation: Isolate all energy sources using disconnect switches, circuit breakers, or valves.
Application of Locks/Tags: Apply personalized lockout devices and warning tags.
Verification: Verify isolation by attempting to start equipment after ensuring no personnel are exposed.
2.5 Qualified Personnel Consultation
When uncertainty exists regarding any procedure, consultation with qualified personnel is mandatory:
- Definition of Qualified:Individuals with specific training and knowledge regarding the equipment and hazards
- Consultation Triggers:Unfamiliar procedures, unusual conditions, safety system bypass requirements
- Documentation:Record all consultations and decisions in maintenance logs
- Authorization Requirements:Some procedures may require specific written authorization
- Emergency Contacts:Maintain updated contact information for technical support and emergency services
3. Additional Safety Considerations
3.1 Environmental Factors
Environmental conditions can significantly impact safety during hoist maintenance:
| Condition | Risk | Mitigation Strategy |
| Wet/Damp Areas | Increased electrical shock hazard | Use GFCI protection, waterproof equipment, enhanced insulation |
| Extreme Temperatures | Material brittleness, reduced grip, thermal stress | Allow equipment to acclimate, use temperature-appropriate PPE |
| Confined Spaces | Limited egress, hazardous atmosphere accumulation | Follow confined space entry procedures, atmospheric monitoring |
| Poor Lighting | Reduced visibility, increased error potential | Provide auxiliary lighting, task lighting |
3.2 Tool and Equipment Safety
Proper tool selection and use is critical for safe maintenance operations:
- Insulated Tools:Use properly rated insulated tools for electrical work
- Equipment Inspection:Inspect all tools for damage before use
- Proper Ratings:Ensure tools are rated for the voltage and current involved
- Lifting Equipment:Use appropriate lifting devices for component handling
- Calibration:Verify test equipment calibration status
4. Emergency Procedures
Emergency Response Preparedness
Despite all precautions, emergencies may occur. Preparedness includes:
Immediate Emergency Actions:
Electrical Shock: Do not touch the victim directly. De-energize the circuit if possible without endangering yourself. Call for emergency medical services immediately.
Mechanical Injury: Stabilize the injured person, control bleeding, and call for emergency assistance.
Fire: Use appropriate extinguisher (Class C for electrical fires), evacuate if necessary, activate alarm.
Equipment Failure: Secure the area, prevent access, and report immediately to supervisors.
Systematic Troubleshooting Approach
Phase 1: Preliminary Checks
Step 1: Visually inspect the hoist for obvious damage, loose components, or foreign objects that may be obstructing movement.
Step 2: Verify that the emergency stop button (if equipped) is not engaged and that all safety devices are in their normal operating positions.
Step 3: Check the control device (pendant or remote) for physical damage and ensure it’s properly connected to the hoist.
Phase 2: Electrical System Diagnosis
The majority of “no movement” issues originate in the electrical system. Follow these steps to identify electrical problems:
Power Supply Verification
- Check main power:Use a multimeter to verify that the correct voltage is present at the hoist’s main power connection point.
- Circuit breaker inspection:Ensure the circuit breaker or fuse supplying the hoist is not tripped or blown.
- Phase sequence (three-phase hoists):For three-phase hoists, incorrect phase sequence can prevent the motor from starting or cause it to run in reverse.
- Voltage drop issues:Long cable runs or undersized wiring can cause significant voltage drops, resulting in weak performance.
Control Circuit Examination
- Control pendant/remote testing:Test the control device for proper operation. Damaged buttons, worn cables, or faulty connections are common failure points.
- Limit switch verification:Check both upper and lower limit switches. If a limit switch is stuck in the activated position, it will prevent hoist operation.
- Contactor inspection:Examine the contactors for signs of arcing, pitting, or coil failure. A faulty contactor may not properly energize the motor circuit.
Phase 3: Mechanical System Evaluation
If the electrical system checks out, proceed to examine mechanical components:
| Component | Potential Issue | Symptoms |
| Brake System | Over-adjusted, worn brake pads, seized mechanism | Motor hums but doesn’t turn, excessive heat, burning smell |
| Gear System | Lack of lubrication, worn gears, misalignment | Grinding noise, jerky movement, inability to lift rated load |
| Chain and Sprocket | Damaged chain links, worn sprocket, jammed chain guide | Chain doesn’t move smoothly, jumps teeth, unusual noises |
| Motor Bearings | Worn or seized bearings | Screeching or grinding sounds, excessive vibration, overheating |
Detailed Analysis of Common Faults
1. Power Supply Problems
Inadequate or unstable power supply is a leading cause of hoist performance issues. For single-phase hoists operating on 110V or 230V, voltage drops of more than 10% can significantly reduce motor torque. Three-phase hoists require balanced voltage across all phases; imbalance exceeding 2% can cause overheating and reduced performance.
Phase loss in three-phase systems is particularly problematic. If one phase is lost while the hoist is operating, it will continue to run but with reduced power. If phase loss occurs before starting, the motor may hum but not rotate, potentially causing motor burnout if not addressed promptly.
2. Control Circuit Failures
The control circuit includes all components between the operator’s control device and the motor contactors. Common failure points include:
- Damaged control cables:Frequent flexing can break internal wires, causing intermittent or complete loss of control.
- Faulty control transformer:Provides low-voltage power for the control circuit; failure prevents control signals from reaching contactors.
- Stuck or misadjusted limit switches:Upper/lower limit switches that fail to reset will prevent operation in the affected direction.
- Overload relay activation:Thermal overload protection may trip due to excessive current, requiring manual reset after cooling.
3. Motor-Related Issues
Electric hoist motors can fail due to various reasons:
Winding failure: Insulation breakdown in motor windings can cause short circuits, ground faults, or open circuits. This often results from overheating, moisture ingress, or age-related deterioration.
Bearing failure: The most common mechanical failure in electric motors. Symptoms include unusual noise, vibration, and increased current draw. Causes include improper lubrication, contamination, or misalignment.
Rotor problems: Cast aluminum rotors can develop cracks or voids, especially if subjected to frequent starts/stops or overload conditions. A damaged rotor will reduce torque output and cause uneven operation.
Advanced Diagnostic Techniques
Electrical Measurements
Using appropriate test equipment is essential for accurate diagnosis:
- Voltage measurements:Check voltage at the hoist’s main terminal box, contactor inputs/outputs, and control circuit.
- Current measurements:Compare actual motor current against nameplate values. High current may indicate mechanical binding; low current may suggest winding problems.
- Insulation resistance testing:Perform megohm tests on motor windings to detect insulation breakdown. Values below 1 megohm indicate potential problems.
- Continuity testing:Verify continuity through control circuits, limit switches, and brake coils.
Mechanical Testing Procedures
When electrical checks are normal, focus on mechanical components:
Brake adjustment verification: Most electric hoists have a manually releasable brake for testing. Release the brake according to manufacturer instructions and check if the hoist moves freely without power.
Gear system inspection: With power disconnected, manually rotate the input shaft (if accessible) to check for binding or roughness in the gear train.
Chain and sprocket examination: Inspect the entire length of the load chain for twisted, stretched, or damaged links. Check sprocket teeth for wear patterns.
Preventive Maintenance Recommendations
Regular maintenance can prevent many common hoist problems:
| Maintenance Activity | Frequency | Purpose |
| Visual inspection | Daily or before each use | Identify obvious damage, loose components, or foreign objects |
| Functional test (no load) | Weekly | Verify proper operation of all functions and safety devices |
| Load chain lubrication | Monthly or as needed | Reduce friction and wear, prevent corrosion |
| Brake adjustment check | Quarterly | Ensure proper brake operation and holding capacity |
| Comprehensive inspection | Annually | Thorough examination of all components by qualified personnel |
Conclusion
Troubleshooting an electric chain hoist that doesn’t move or performs weakly requires a systematic approach beginning with safety precautions, followed by electrical system checks, and finally mechanical component examination. Most issues originate in the power supply or control circuits, but mechanical problems like brake issues or worn components can also cause these symptoms.
Regular preventive maintenance, proper operator training, and adherence to manufacturer specifications significantly reduce the likelihood of hoist failures. When in doubt, consult the hoist’s service manual or contact a qualified technician. Remember that hoists are critical safety equipment—never bypass safety devices or operate a hoist with known defects.
