Rigging a load isn’t just about hooking it up and pressing the “up” button. Get it wrong, and you risk swinging steel beams like a wrecking ball, snapping chains, or worse. I’ve seen a 1-ton load shift mid-lift because the hitch slipped — luckily, it only dented a pallet, not someone’s foot.
Let’s walk through how to rig loads properly — and keep your crew, your load, and your hoist safe.
Know Your Gear First
Hoist Selection & Specs
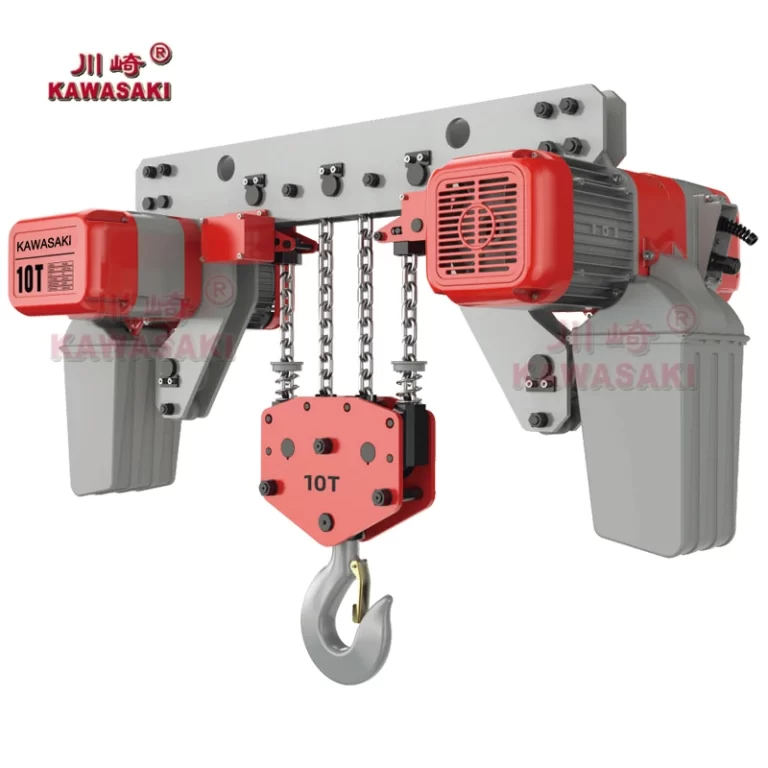
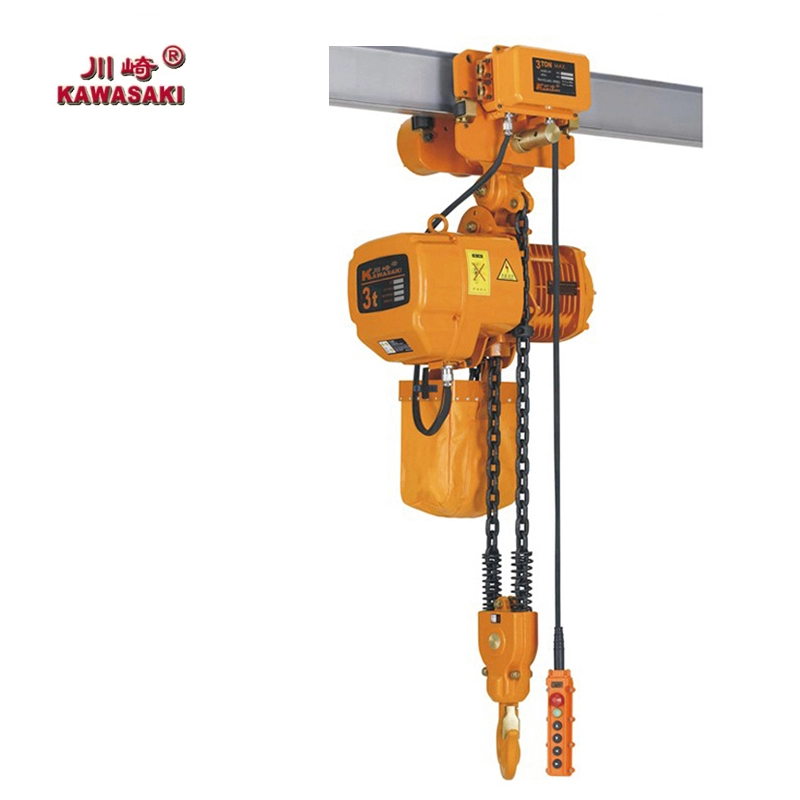
Every hoist has a nameplate — that’s your first checkpoint. It tells you the rated capacity, duty cycle, lifting speed, and voltage. APOLLO offers models like the DCEK and KKBB series, with options from 110V single-phase (for smaller workshops) to 575V three-phase for industrial bays.
Don’t assume “it looks sturdy” means “it can handle the load.” A 2-ton rated hoist has been tested for that — not 2.5 tons “just this once.”
Rigging Hardware
Think of rigging gear as the link between your hoist and the load. That includes:
Slings: chain, wire rope, or polyester webbing. A G80 chain sling will outlast most jobs in a steel plant. Polyester is great for painted or delicate surfaces.
Shackles & Eyebolts: rated for lifting, stamped with working load limit (WLL).
Spreader Beams: keep multi-point loads balanced and reduce sling angles.
Trolleys & Beam Attachments
For horizontal positioning, you’ll want the hoist mounted on a trolley. APOLLO’s CRA cargo trolley, for example, can be paired with powered or manual movement depending on the job. Don’t try to drag loads sideways with the hoist chain — that’s not what it’s built for.
Pre-Lift Checks
Inspection Checklist
Before you even think about lifting:
- Hooks: no cracks, no bent tips, latch springs back.
- Chain: no twists, kinks, or signs of wear. Light lubrication helps — APOLLO recommends nickel-plated chains for corrosion resistance.
- Chain Bag: chain should feed cleanly.
- Limit Switches: test by inching up/down.
- Pendant or Remote: buttons responsive, cable intact.
Verify Load Weight & Center of Gravity
Guesswork is risky. If you can’t get an exact weight from drawings or labels, use a crane scale. APOLLO supplies digital crane scales with overload warning — I’ve seen these prevent a nasty surprise when a “1-ton” machine turned out to be 1.3.
The center of gravity (CoG) isn’t always the geometric center. A gearbox mounted on one end will shift the balance — plan your hitch points accordingly.
Choosing the Right Hitch
- Vertical Hitch: straight lift from above.
- Choker: for loose bundles, but reduces sling capacity.
- Basket Hitch: doubles capacity, supports load from two sides.
- Bridle Hitch: multi-leg sling for odd shapes.
Rigging Procedures for Common Lifts
Single-Point Vertical Lift
This is the most straightforward. Attach the sling to the load’s lifting point, hook it up, take up slack, and lift a few centimeters to check balance. If it tilts, lower it back and adjust before going higher.
Multi-Leg Bridle Lift
For asymmetrical loads — say a steel frame with uneven weight distribution — a four-leg bridle sling keeps things level. But remember: sling angles affect leg loading. At 60°, each leg carries about 115% of its marked WLL.
Lifting Long or Flexible Loads
For 6-meter steel plates or PVC pipes, use a spreader beam to prevent sag. Tag lines on both ends help control swing. Once, in a coastal fabrication yard, we moved a 12-meter aluminum mast — without the spreader, it would have flexed like a fishing rod.
Off-Center Loads
If you absolutely must lift something off-center, use temporary spreaders or turning shackles to keep the hook over the CoG. And lift slow. The faster you go, the more it will swing.
Special Considerations with Electric Chain Hoists
Duty Cycles & Motor Heat
Electric motors can overheat if you run them non-stop. The duty cycle on your hoist tells you how long you can operate before resting. Overworking it shortens lifespan — and downtime is a killer in production schedules.
Safety Systems
KAWASAKI hoists come with overload protection and dual brakes in some models. Test them during pre-lift checks. Limit switches stop the chain at maximum height — don’t treat them as a regular stop.
Horizontal Positioning
Mount the hoist on a trolley if you need to move the load sideways. APOLLO’s electric trolleys can carry the hoist and load smoothly along an I-beam. Dragging with the hoist chain strains the gearbox and chain — think of it as trying to tow a car by its handbrake cable.
Environment & Site Needs
APOLLO offers explosion-proof, dust-proof, and rain-proof builds. For example, in a cement plant, a dust-proof hoist with sealed electrics prevents grit from chewing up the motor.
Common Rigging Mistakes
Overloading
“I’ve done it before” is not a safety plan. Overloading can stretch chains, deform hooks, and strip gears. That damage isn’t always visible — until it fails.
Improper Hitch or Sling Angle
Using a vertical hitch on a load that needs a bridle is asking for rotation mid-lift. And sling angles over 60° can load each leg beyond its WLL.
Poor Alignment
If the hook isn’t directly above the CoG, the load will swing. In crowded spaces, that’s a hazard.
Using Hoist for Side Pulling
A chain hoist is for vertical lifting. Side pulling can twist the chain, jam the guide, and even crack the frame.
Maintenance and APOLLO After-Sales Support
A hoist is a long-term investment — treat it like one.
- Routine Lubrication: chain oiling keeps wear down.
- Brake Checks: brakes should hold the load firmly when stopped.
- Annual Load Testing: confirm the hoist still lifts its rated capacity.
APOLLO offers a one-year warranty, accessories supply, and even video guidance for maintenance. OEM clients get tailored packaging, from wooden crates to color boxes, plus branding right on the casing.
With a monthly capacity of 5,000 chain hoists, APOLLO can handle both small custom orders and large-scale supply for distributors.
Quick Rigging Cheat-Sheet
Pre-Lift:
- Inspect hoist & rigging gear.
- Confirm load weight & CoG.
- Select proper hitch & slings.
- Check beam/trolley capacity.
- Clear the lift area.
During Lift:
- Take up slack slowly.
- Test balance a few cm above ground.
- Keep movement smooth.
- Use tag lines if needed.
- Watch for unusual sounds or motion.
Post-Lift:
- Lower gently to supports.
- Detach slings carefully.
- Store gear clean & dry.
Conclusion
Proper rigging is part science, part experience. Whether you’re lifting a CNC machine in a factory or positioning a steel beam on a construction site, getting it right means fewer delays, fewer accidents, and longer equipment life.
FAQs
Q1: Can I rig directly to the hook without a sling?
Only if the load has a certified lifting point designed for a hook. For irregular shapes, use a proper sling or lifting attachment.
Q2: What’s the best sling material for outdoor use?
Galvanized or stainless chain slings handle weather best. APOLLO offers G80 and G100 chains with nickel or zinc plating for corrosion resistance.
Q3: How often should rigging gear be replaced?
It depends on use, but inspect before every lift. Replace slings or shackles showing cracks, stretched links, or worn markings — don’t wait for failure.